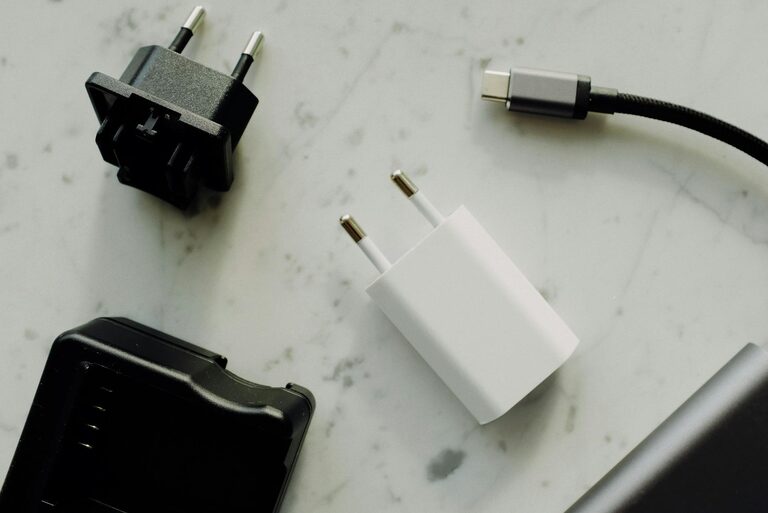
Setting up a dedicated charging station for your devices can greatly simplify your daily routine. Whether you have smartphones, tablets, wireless headphones, or e-readers, a well-organized charging area keeps everything powered and clutter-free. In this guide, we’ll walk you through the steps to create a convenient charging station at home, covering location choices, tools, and organization strategies.
Why Set Up a Charging Station?
With multiple devices needing power daily, cords and chargers often get tangled and misplaced. A charging station:
– Keeps devices charged in one spot
– Reduces clutter from cables and adapters
– Saves time by knowing exactly where to charge
– Protects devices from accidental damage or loss
Choose the Best Location
The first step is selecting where to set up your charging station. Consider these factors:
– Accessibility: A spot you visit frequently, like a living room corner, a kitchen counter, or a desk.
– Safety: Avoid places where cords could be tripped over or exposed to liquids.
– Power availability: Close to outlets to plug in multiple devices.
– Ventilation: Some chargers generate heat, so a well-ventilated area helps prevent overheating.
Popular places include a home office desk, a bedside table, or a hallway shelf.
Gather Essential Supplies
Once you’ve picked a location, gather everything needed:
– Power strip or multi-port USB charger: Choose a power strip with surge protection or a USB charging hub with multiple ports to accommodate several devices at once.
– Charging cables: Collect compatible cables for all your devices.
– Cable organizers: Clips, sleeves, or ties help keep cords neat.
– Storage containers or trays: Small boxes or trays to hold devices and accessories.
– Labeling materials: Stickers or tags to identify cables and devices.
Setting Up Your Charging Station
Step 1: Arrange the Power Source
Plug your power strip or multi-port USB charger into the wall outlet. Position it to minimize visible cords but allow easy access.
Step 2: Organize Cables
Use cable organizers to separate and route each charging cable. Velcro ties or twist ties are inexpensive and effective for bundling excess cable length. Cable clips or holders attached to surfaces can keep cables within easy reach and prevent them from falling behind furniture.
Step 3: Designate Device Spots
Use trays, small baskets, or custom holders where devices can rest while charging. Organize them so that charging ports align comfortably with the cables.
Step 4: Label Cables and Ports
If many devices share the station, label cables or charging ports to quickly identify which charger belongs to which device. This reduces confusion and accidental unplugging.
Step 5: Add Extras for Convenience
Optional additions include:
– Wireless charging pads: For compatible devices, reduce cable clutter.
– A small shelf or stackable organizer: To create layers if you need more space vertically.
– Night light or LED strips: To make the station visible in the dark.
Tips for Maintaining Your Charging Station
– Regularly declutter: Remove old cables and broken chargers.
– Check cables: Replace any frayed or damaged cords promptly.
– Keep it dust-free: Wipe the area to prevent buildup.
– Monitor charging: Avoid leaving devices plugged in longer than necessary to preserve battery health.
Benefits Beyond Organization
A well-planned charging station not only keeps your devices charged but also promotes better device care. Organized cables reduce wear and tear, and knowing where devices are placed reduces the chance of misplacement. Additionally, it creates a dedicated tech zone that can visually tidy up your living space.
Conclusion
Creating a charging station at home is a straightforward project that brings great convenience and tidiness. By selecting the right location, gathering the right tools, and establishing a system to organize devices and cables, you can make charging hassle-free. Start small and customize the setup to fit your household’s needs for a neat, powered-up space.
Happy charging!

